A design-build sign program isn’t one big task. Instead, it moves through a series of connected phases, each one feeding directly into the next. Understanding this sequence helps explain why coordinating design and fabrication under one team produces better results than splitting the work across separate vendors.
Phase 1: Field Survey and Site Verification
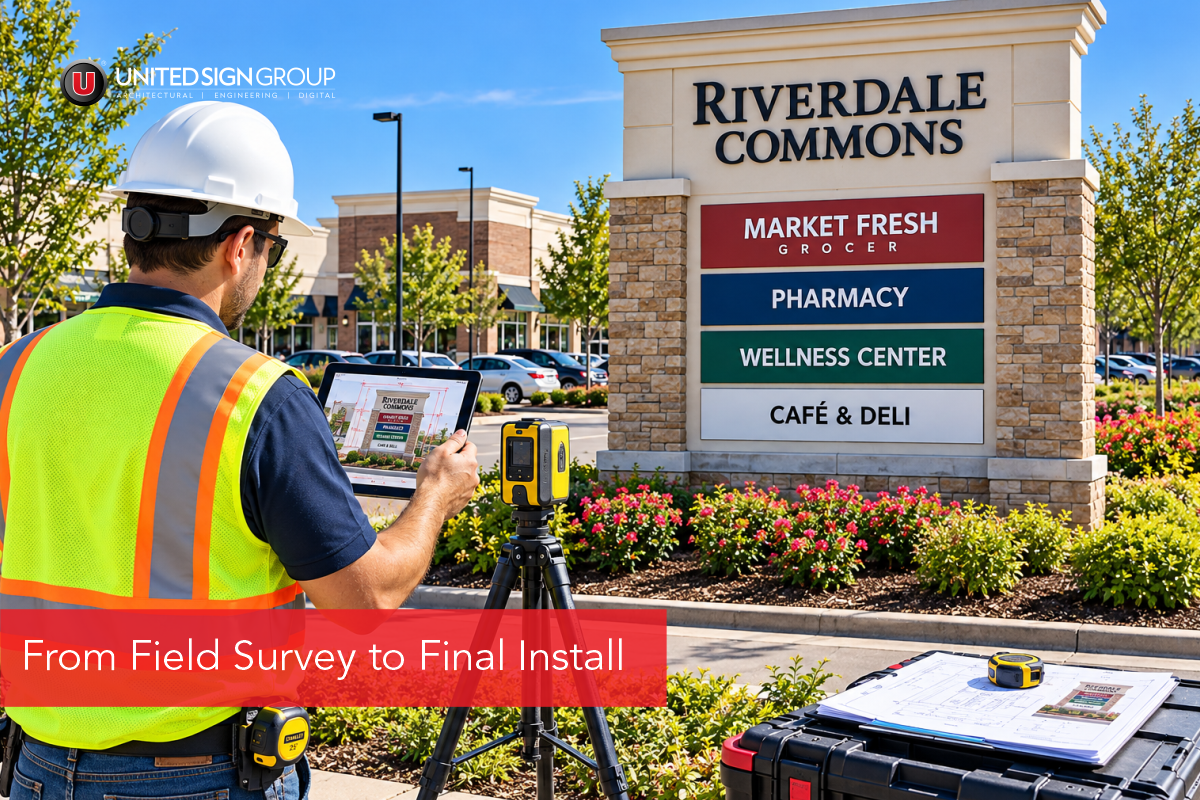
Every design-build sign program starts on site, not at a drafting table. First, the team inventories existing signage and documents current conditions. For outdoor programs, that typically means photographing and mapping signs with GPS coordinates. For interior programs, it means verifying wall types, ceiling conditions, and available mounting areas room by room.
This step also identifies decision points, meaning every intersection, hallway junction, or transition where someone could reasonably lose their way. Consequently, the team builds the entire program around real physical conditions instead of assumptions from a floor plan or a map.
Phase 2: Ownership and Access Review
Next, the team classifies who actually controls each proposed sign location. For a citywide program, that often means sorting locations by city, county, or state right-of-way. Each comes with different approval requirements. For a facility program, it means understanding which areas need special coordination, such as active patient corridors or secured zones.
This review matters because skipping it creates delays later. A sign proposed for state-owned right-of-way, for example, generally needs coordination with a transportation department before final engineering can proceed.
Phase 3: Routing, Programming, and Message Schedule
With site conditions and ownership confirmed, the team develops the actual routing logic. This includes deciding what each sign should say, which direction its arrows should point, and how one sign connects to the next in a visitor’s overall journey.
For interior programs, this phase also covers letter sizing and department naming conventions. Getting this step right matters because dozens of individual decisions have to stay consistent across an entire program. Approving a message schedule early prevents costly wording changes once fabrication is already underway.
Phase 4: Concept Design for the Design-Build Sign Program
Once the team approves the message schedule, concept design begins. This is where the actual sign family takes shape: a set of coordinated sign types that share consistent color, typography, arrow style, and material standards, scaled appropriately for their use.
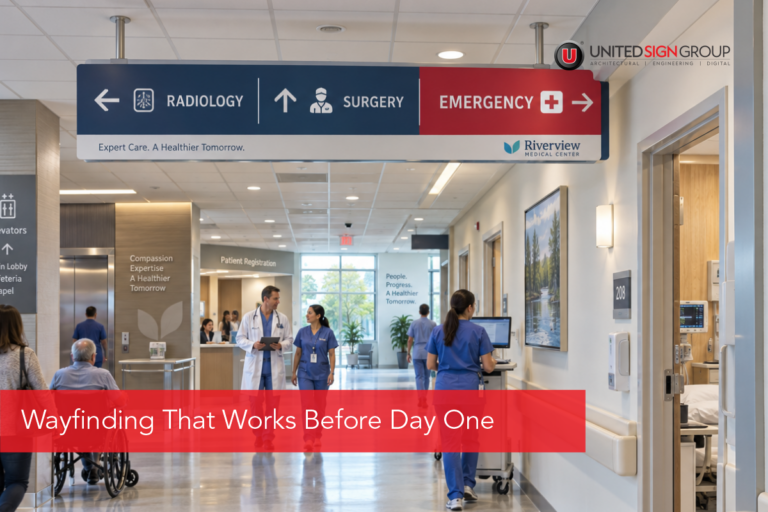
An outdoor program might include large gateway monuments, vehicular directional signs, and smaller pedestrian blades. An interior program might include sub-directory signs, overhead department signs, and stair identification. Either way, the goal stays the same: one visual language that reads as a connected system, not a collection of unrelated signs.
Phase 5: Engineering and Compliance Review
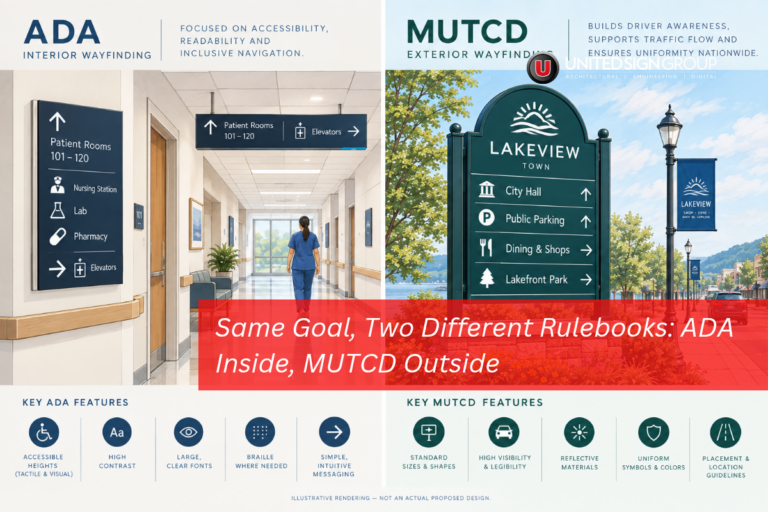
Before construction begins, the design has to hold up structurally and legally. This phase covers structural engineering, code coordination, and compliance verification, such as ADA accessibility standards for interior signage or federal traffic sign standards for anything within a public right-of-way.
Running this review early, rather than after fabrication starts, catches problems while they’re still inexpensive to fix. A material that won’t meet wind load requirements or a sign that misses a mounting height clearance is far easier to correct on paper than after installation.
Phase 6: Prototype and Field Testing
For larger programs, it’s common to build one full-size sign before committing to full production. Field testing checks legibility, contrast, mounting height, and, for outdoor signage, nighttime reflectivity. This step exists specifically to catch anything the design and engineering phases couldn’t fully predict from drawings alone.
Phase 7: Fabrication in a Design-Build Sign Program
Once the team approves and tests a design, fabrication begins. Because the same team handled design and engineering, fabrication moves forward with a clear understanding of what’s actually buildable within budget. There’s no gap between what a drawing shows and what a fabricator can produce, since fabrication knowledge shaped the design from the start.
Phase 8: Removal and Installation
Crews typically remove existing signage before installing new signage. Installation sequencing has to account for the site staying operational throughout, whether that’s traffic flow on a city street or daily patient and visitor circulation in a facility. Overhead work, in particular, often gets scheduled around lower-traffic periods to minimize disruption.
Many programs are also phased at this stage, starting with the highest-priority route or area and expanding later. Modular sign structures and a permanent asset-numbering system make that expansion possible without redesigning the entire program down the line.
Phase 9: Closeout
Finally, the program wraps with punch-list resolution, warranty documentation, and, for programs with asset tracking, a permanent record of each sign’s location, type, and specifications. This closeout step matters more than it might seem, since it’s what makes future maintenance or expansion straightforward instead of starting from scratch.
Why the Sequence Matters More Than Any Single Phase
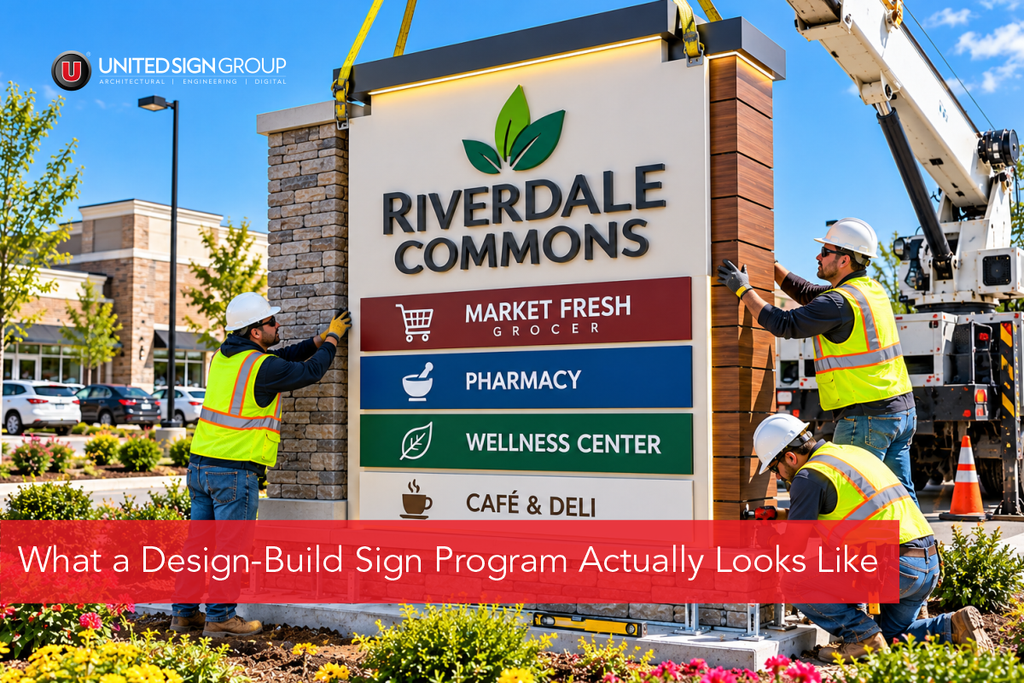
No single phase above works well in isolation. A message schedule without a field survey risks approving wording for locations that don’t physically make sense. A concept design without engineering input risks specifying something that can’t be built within budget. A well-run design-build sign program keeps these phases connected under one team, so each step is informed by real information from the one before it, not disconnected from it.
That connected sequence is really the whole argument for design-build. It’s not a faster way to do the same fragmented process. It’s a different process entirely, one where design and fabrication were never separate conversations to begin with.
If you’re planning a signage program and want to understand what this process would look like for your specific site, request a quote from United Signs to start the conversation.
FAQs
It depends on program size and site complexity, but most programs move through survey, design, engineering, fabrication, and installation over several months to under a year. Programs are often phased, so priority areas can be completed while planning continues elsewhere.
Site conditions vary significantly from one location to the next. Verifying wall types, mounting areas, or right-of-way ownership first means the design accounts for what’s physically possible, rather than discovering a mismatch after concept designs are already approved.
Not always, but it’s common on larger programs. Building and field testing one full-size sign catches legibility, contrast, or mounting issues before committing to full production, which is far cheaper to fix at that stage than after installation.
Yes. Many programs start with the highest-priority area, such as a primary visitor route or a facility’s main entrance, then expand to secondary locations later. Modular sign structures and asset-numbering systems make this kind of phased expansion possible without a full redesign.